
Cutting the lumber and assembling the bed
See Part 1 here.
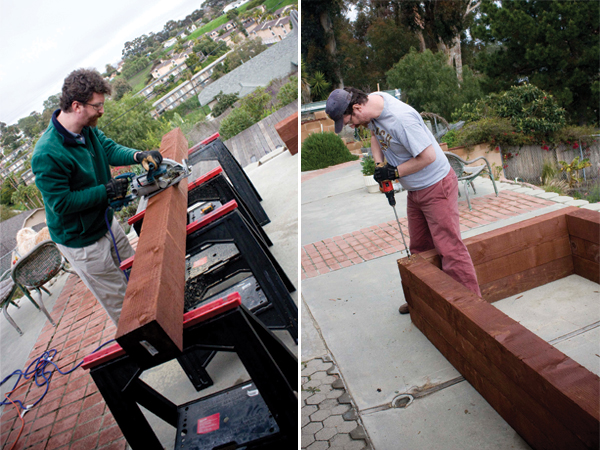
To get the log cabin effect we have with the boards we needed to cut three boards in half. We measured to the middle and marked the cutting line on all four sides. Since we do not own a saw big enough to cut through the wood in one pass Thomas cut one side, then we rotated the board and he cut again. Once the cuts were made we assembled the vegetable bed on the patio to make sure it fit together the way we had hoped. It did!
Before moving the lumber to the lower part of the yard we pre-drilled all of our assembly holes. Using an 18" 1/4" drill bit we made three pilot holes in each corner of the bed, one directly in the corner and one 8" in from each edge. Next we made the holes larger with an 18" 1/2" drill bit which will accommodate the rebar. The 18" drill bit isn't long enough to penetrate all three boards. Not to worry, this is good! That means what looks like the top in this photo is really going to be the bottom of the garden and vice versa. And that also means all the rebar is hidden from view and your garden will look hardware free!
Take the time to mark the boards in their current order. Label which board goes where so after you've moved the boards they'll be in the right place and your drill holes will line up perfectly. Now, it's time to move the boards into position. Have I mentioned how heavy 6x6 lumber is? I haven't? Yeah, well it is. Really. Heavy.
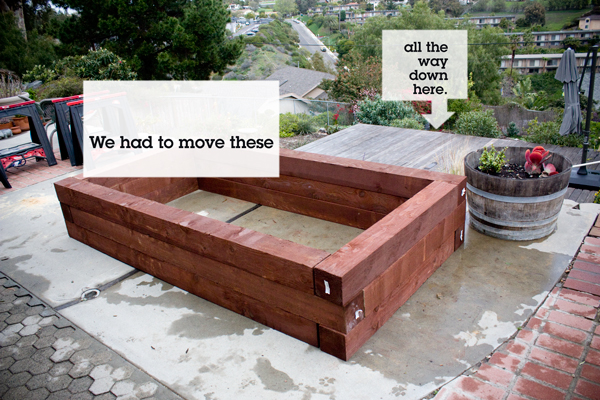
And we had quite a hike to take with our boards. Phew.
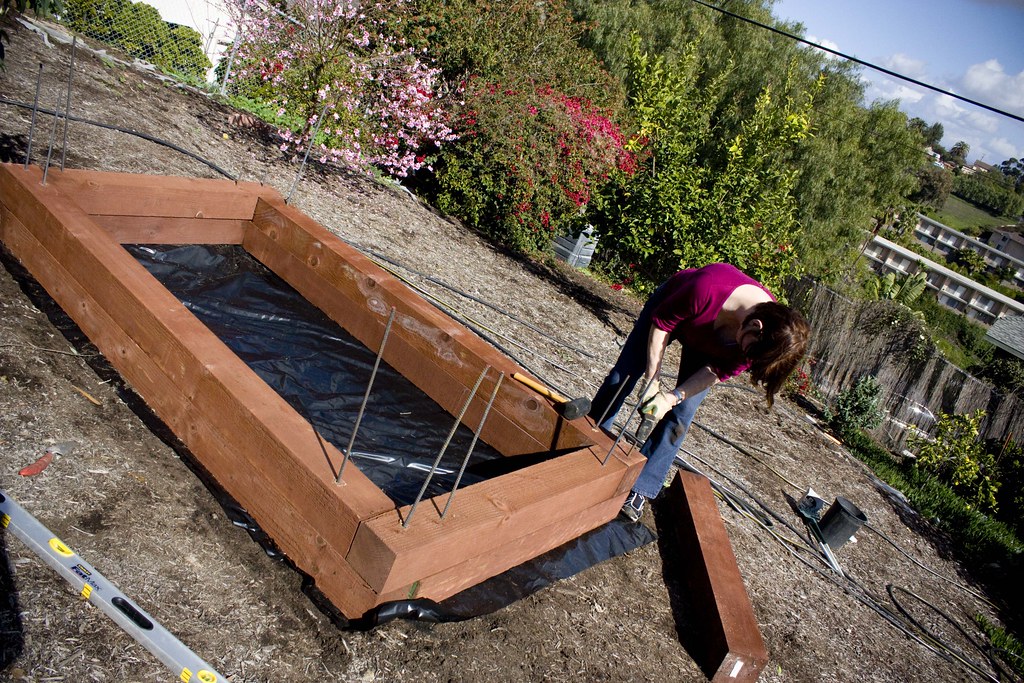
Build the bed on your nice leveled earth. When you reach the second row of boards you can set the rebar in place and hammer it into the ground until only about 3-4" is exposed. Set the final row of boards in place and go have a cold beer because you've done a good job.
Click here for Part 3 where we get the soil and plant our crops.
4 comments:
Only you and Thomas could tackle such a procedure and have it look so nice!
I am back in MA an seeing the photos makes me nostalgic!
Hi there - I just found your blog via flickr and I love your garden!
Just wondering - did you stain the wood before building the bed (and if so, what stain did you use), and did you line the bed with plastic before putting in the dirt? I always wonder about the dirt/wood contact and if it will cause rotting.
Great job!
We actually used pressure treated wood to prevent rotting. It's available in this other finish, besides the icky green one, so we chose that. We laid black plastic on the ground under the wood so it wouldn't sit in too much moisture then we wrapped the plastic up the inside and stapled it to the wood. It's held up great so far.
Post a Comment